
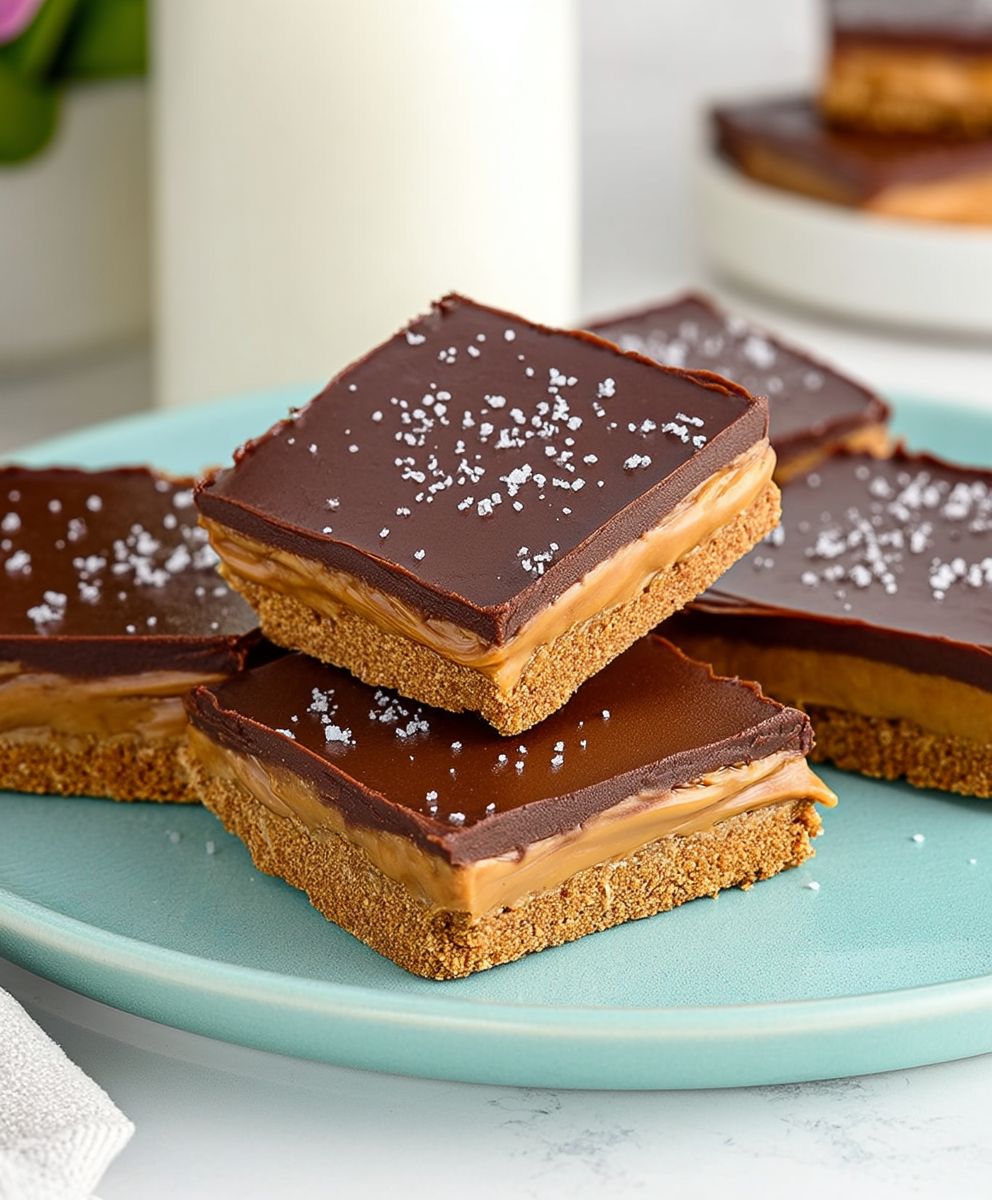
No Bake Peanut Butter Bars
No Bake Peanut Butter Bars are a delightful treat that combines the rich, creamy flavor of peanut butter with a satisfying crunch, making them a favorite for both kids and adults alike. These bars are not only easy to prepare but also require no oven, which means you can whip them up in no time, even on the busiest of days. The history of peanut butter bars can be traced back to the classic American dessert scene, where they have become a staple at potlucks, picnics, and family gatherings.
People love these No Bake Peanut Butter Bars for their incredible taste and texture. The combination of sweet and salty, along with the chewy yet crunchy consistency, creates a perfect balance that keeps you coming back for more. Plus, they are incredibly convenient; you can make a batch ahead of time and store them in the fridge for a quick snack or dessert. Whether you’re a peanut butter lover or just looking for a simple, delicious treat, these bars are sure to satisfy your cravings!

Ingredients:
- 1 cup creamy peanut butter
- 1/2 cup honey or maple syrup
- 2 cups rolled oats
- 1/2 cup chocolate chips (optional)
- 1/2 cup powdered sugar (optional, for sweetness)
- 1 teaspoon vanilla extract
- 1/4 teaspoon salt
Preparing the Mixture
- Gather all your ingredients: Before you start, make sure you have everything you need on hand. This will make the process smoother and more enjoyable.
- Mix the wet ingredients: In a large mixing bowl, combine 1 cup of creamy peanut butter and 1/2 cup of honey (or maple syrup). Use a spatula or a wooden spoon to mix them together until they are well combined and smooth.
- Add the vanilla extract: Pour in 1 teaspoon of vanilla extract to the peanut butter and honey mixture. This will enhance the flavor of your bars. Stir well to incorporate.
- Incorporate the dry ingredients: Gradually add 2 cups of rolled oats to the wet mixture. If you want your bars to be sweeter, you can also add 1/2 cup of powdered sugar at this stage. Mix everything together until the oats are fully coated with the peanut butter mixture.
- Add salt: Sprinkle in 1/4 teaspoon of salt. This will balance the sweetness and enhance the overall flavor. Stir until evenly distributed.
- Optional chocolate chips: If you’re a chocolate lover, fold in 1/2 cup of chocolate chips at this point. This step is optional, but it adds a delightful touch to the bars.
Setting the Bars
- Prepare your pan: Line an 8×8 inch square baking dish with parchment paper. Leave some overhang on the sides to make it easier to lift the bars out later. This will also prevent sticking.
- Transfer the mixture: Pour the peanut butter mixture into the prepared baking dish. Use a spatula to spread it evenly across the bottom of the pan. Make sure to press it down firmly to create a compact layer.
- Smooth the top: Once the mixture is evenly spread, use the back of the spatula to smooth the top. This will give your bars a nice finish and help them hold together better.
Chilling the Bars
- Refrigerate: Place the baking dish in the refrigerator and let it chill for at least 2 hours. This step is crucial as it allows the bars to firm up and makes them easier to cut.
- Check for firmness: After 2 hours, check the bars. They should be firm to the touch. If they are still soft, let them chill for an additional 30 minutes.
Cutting and Serving
- Lift the bars out: Once the bars are firm, use the overhanging parchment paper to lift them out of the baking dish. Place them on a cutting board.
- Cut into squares: Using a sharp knife, cut the bars into squares or rectangles, depending on your preference. You can make them as small or as large as you like.
- Store the bars: Place the cut bars in an airtight container. They can be stored in the refrigerator for up to a week or in the freezer for longer storage. If freezing, separate layers with parchment paper to prevent sticking.
Enjoying Your No Bake Peanut Butter Bars
- Serve chilled: These bars are best enjoyed chilled. They make a perfect snack or dessert, and they are great for meal prep!
- Experiment with toppings: Feel free to get creative! You can drizzle melted chocolate on top, sprinkle with crushed nuts, or even add a layer of yogurt for a different flavor profile.
- Share with friends: These bars are
Conclusion:
If you’re looking for a quick, delicious, and satisfying treat, these No Bake Peanut Butter Bars are an absolute must-try! Not only are they incredibly easy to whip up, but they also require minimal ingredients, making them perfect for those busy days when you want something sweet without the hassle of baking. The rich, creamy peanut butter combined with the sweetness of honey and the crunch of oats creates a delightful texture that is sure to please both kids and adults alike. Plus, they are a healthier alternative to many store-bought snacks, allowing you to indulge without the guilt.
When it comes to serving suggestions, these bars are incredibly versatile. You can enjoy them as a quick breakfast on the go, a midday snack, or even a post-workout treat to refuel your energy. For a fun twist, consider drizzling some melted dark chocolate on top for an extra layer of flavor. You could also sprinkle some sea salt or chopped nuts for added crunch and a gourmet touch. If you’re feeling adventurous, try adding in some mini chocolate chips or dried fruit to the mixture before pressing it into the pan. The possibilities are endless, and you can easily customize these bars to suit your taste preferences!
I encourage you to give this No Bake Peanut Butter Bars recipe a try. It’s a fantastic way to satisfy your sweet tooth while keeping things simple and healthy. Once you’ve made them, I’d love to hear about your experience! Did you stick to the original recipe, or did you add your own twist? Sharing your creations not only inspires others but also helps build a community of fellow food lovers who appreciate the joy of homemade treats.
So, gather your ingredients, roll up your sleeves, and get ready to enjoy a delicious batch of No Bake Peanut Butter Bars. Trust me, once you take that first bite, you’ll be hooked! Don’t forget to share your thoughts and any variations you come up with in the comments below. Happy snacking!
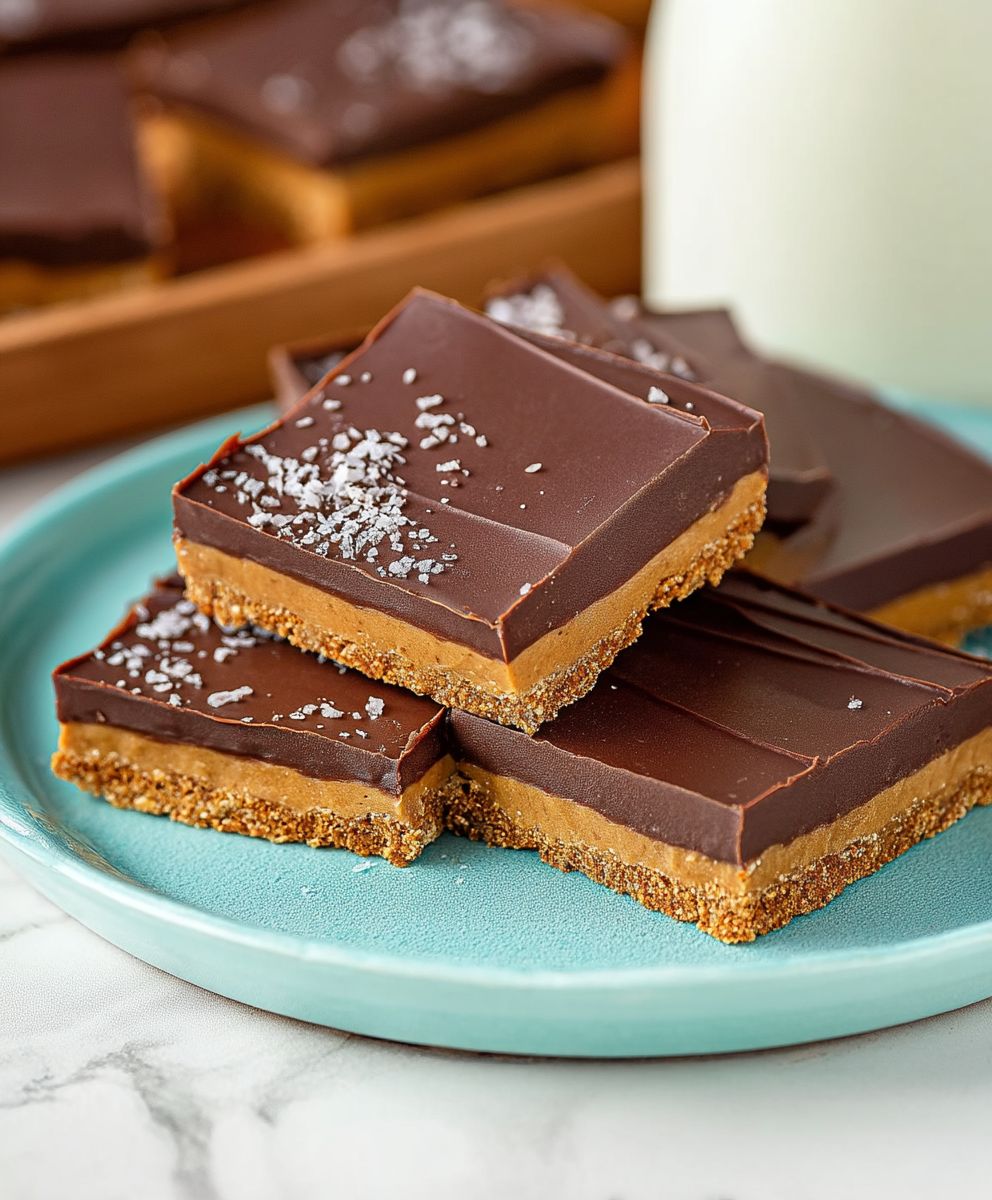
No Bake Peanut Butter Bars: Easy Recipe for a Delicious Treat
These No-Bake Peanut Butter Bars are a quick and easy treat made with creamy peanut butter, honey, and rolled oats. Perfect for snacks or desserts, they can be customized with chocolate chips and other toppings for extra flavor. Enjoy them chilled for a deliciously satisfying bite!
Ingredients
- 1 cup creamy peanut butter
- 1/2 cup honey or maple syrup
- 2 cups rolled oats
- 1/2 cup chocolate chips (optional)
- 1/2 cup powdered sugar (optional, for sweetness)
- 1 teaspoon vanilla extract
- 1/4 teaspoon salt
Instructions
- Gather all your ingredients: Before you start, make sure you have everything you need on hand. This will make the process smoother and more enjoyable.
- Mix the wet ingredients: In a large mixing bowl, combine 1 cup of creamy peanut butter and 1/2 cup of honey (or maple syrup). Use a spatula or a wooden spoon to mix them together until they are well combined and smooth.
- Add the vanilla extract: Pour in 1 teaspoon of vanilla extract to the peanut butter and honey mixture. Stir well to incorporate.
- Incorporate the dry ingredients: Gradually add 2 cups of rolled oats to the wet mixture. If you want your bars to be sweeter, you can also add 1/2 cup of powdered sugar at this stage. Mix everything together until the oats are fully coated with the peanut butter mixture.
- Add salt: Sprinkle in 1/4 teaspoon of salt. Stir until evenly distributed.
- Optional chocolate chips: If you’re a chocolate lover, fold in 1/2 cup of chocolate chips at this point.
- Prepare your pan: Line an 8×8 inch square baking dish with parchment paper, leaving some overhang on the sides.
- Transfer the mixture: Pour the peanut butter mixture into the prepared baking dish. Use a spatula to spread it evenly and press it down firmly.
- Smooth the top: Use the back of the spatula to smooth the top for a nice finish.
- Refrigerate: Place the baking dish in the refrigerator and let it chill for at least 2 hours.
- Check for firmness: After 2 hours, check the bars. If they are still soft, let them chill for an additional 30 minutes.
- Lift the bars out: Use the overhanging parchment paper to lift the bars out of the baking dish and place them on a cutting board.
- Cut into squares: Using a sharp knife, cut the bars into squares or rectangles.
- Store the bars: Place the cut bars in an airtight container. They can be stored in the refrigerator for up to a week or in the freezer for longer storage.
- Serve chilled: These bars are best enjoyed chilled and make a perfect snack or dessert.
- Experiment with toppings: Get creative with toppings like melted chocolate, crushed nuts, or yogurt.
- Share with friends: These bars are great for sharing!
Notes
- Feel free to adjust the sweetness by adding or omitting the powdered sugar.
- For a nut-free version, substitute peanut butter with sunflower seed butter.


Leave a Comment