
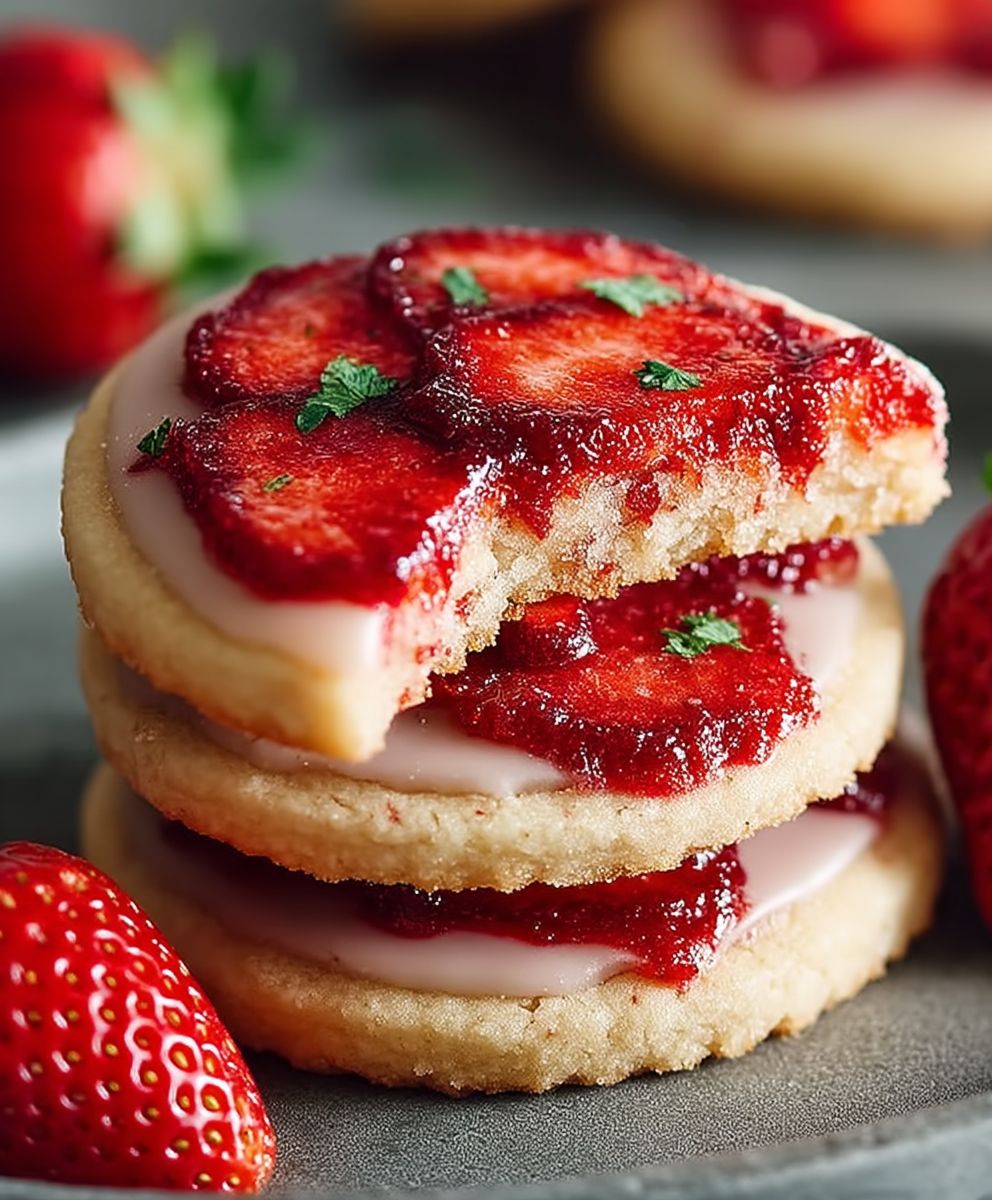
Sweet Shortbread Cookies: A Timeless Treat
Sweet Shortbread Cookies are a delightful indulgence that brings a touch of nostalgia to any gathering. These buttery, melt-in-your-mouth cookies have a rich history that dates back to Scotland in the 12th century, where they were originally made for special occasions and celebrations. Over the years, they have evolved into a beloved treat enjoyed around the world, often served with tea or coffee.
What makes Sweet Shortbread Cookies so irresistible? It’s their simple yet satisfying flavor profile, combining the sweetness of sugar with the richness of butter, creating a texture that is both crumbly and tender. Whether you’re baking them for a holiday party or just to enjoy with your afternoon tea, these cookies are incredibly convenient to make and can be easily customized with various flavors or toppings. I love how they can be dressed up for special occasions or enjoyed in their classic form. Once you try these Sweet Shortbread Cookies, you’ll understand why they have captured the hearts of so many!

Ingredients:
- 1 cup (226g) unsalted butter, softened
- ½ cup (100g) granulated sugar
- 2 cups (240g) all-purpose flour
- ¼ teaspoon salt
- 1 teaspoon vanilla extract
- ½ teaspoon almond extract (optional)
- Powdered sugar for dusting (optional)
Preparing the Dough
- Preheat the oven: Start by preheating your oven to 350°F (175°C). This ensures that the cookies bake evenly.
- Mix the butter and sugar: In a large mixing bowl, combine the softened unsalted butter and granulated sugar. Using an electric mixer or a whisk, beat the mixture on medium speed until it becomes light and fluffy. This should take about 2-3 minutes.
- Add the extracts: Once the butter and sugar are well combined, add the vanilla extract and almond extract (if using). Mix until fully incorporated.
- Combine dry ingredients: In a separate bowl, whisk together the all-purpose flour and salt. This helps to evenly distribute the salt throughout the flour.
- Incorporate dry ingredients: Gradually add the flour mixture to the butter mixture. I like to do this in three parts, mixing on low speed until just combined after each addition. Be careful not to overmix, as this can lead to tough cookies.
Chilling the Dough
- Form the dough: Once the dough is well combined, it will be soft and slightly sticky. Turn it out onto a lightly floured surface and shape it into a disk. Wrap the disk in plastic wrap.
- Chill the dough: Place the wrapped dough in the refrigerator for at least 30 minutes. Chilling the dough helps to firm it up, making it easier to roll out and cut into shapes.
Rolling and Cutting the Cookies
- Prepare your workspace: After the dough has chilled, remove it from the refrigerator. Lightly flour your work surface and rolling pin to prevent sticking.
- Roll out the dough: Unwrap the dough and place it on the floured surface. Using your rolling pin, roll the dough out to about ¼ inch thick. If the dough is too soft, you can chill it again for a few minutes.
- Cut the cookies: Use cookie cutters to cut out shapes from the rolled dough. Place the cut cookies onto a baking sheet lined with parchment paper, leaving some space between each cookie as they will spread slightly while baking.
Baking the Cookies
- Bake the cookies: Once all the cookies are cut and placed on the baking sheet, pop them into the preheated oven. Bake for 12-15 minutes, or until the edges are lightly golden. Keep an eye on them, as baking times can vary based on your oven.
- Cool the cookies: After baking, remove the cookies from the oven and let them cool on the baking sheet for about 5 minutes. Then, transfer them to a wire rack to cool completely.
Finishing Touches
- Dust with powdered sugar: Once the cookies are completely cool, you can dust them with powdered sugar for a lovely finishing touch. This step is optional but adds a nice sweetness and visual appeal.
- Store the cookies: If you have any cookies left (which is unlikely because they are so delicious!), store them in an airtight container at room temperature. They will stay fresh for about a week.
Variations and Tips
- Add-ins: Feel free to customize your shortbread cookies by adding chocolate chips, nuts, or dried fruit to the dough before rolling it out.
- Flavor variations: Experiment with different extracts such as lemon or orange for a citrusy twist.
-
Conclusion:
If you’re looking for a delightful treat that perfectly balances sweetness and buttery goodness, then these Sweet Shortbread Cookies are an absolute must-try! Their melt-in-your-mouth texture and simple yet rich flavor make them a timeless classic that can be enjoyed on any occasion. Whether you’re hosting a tea party, celebrating a birthday, or simply indulging in a cozy evening at home, these cookies are sure to impress.
One of the best things about this recipe is its versatility. You can easily customize your Sweet Shortbread Cookies to suit your taste preferences or the season. For a festive twist, consider adding a hint of vanilla or almond extract to the dough. You can also incorporate chocolate chips, dried fruits, or nuts for added texture and flavor. If you’re feeling adventurous, try rolling the dough in colorful sprinkles or sanding sugar before baking for a fun and eye-catching finish.
When it comes to serving suggestions, these cookies pair beautifully with a cup of tea or coffee, making them the perfect accompaniment for your afternoon break. You can also stack them in a decorative tin or box to create a lovely homemade gift for friends and family. Imagine the joy on their faces when they receive a thoughtful present of freshly baked Sweet Shortbread Cookies!
I encourage you to give this recipe a try and experience the joy of baking these delightful treats. The process is simple and rewarding, and the end result is nothing short of delicious. Once you’ve made your batch, don’t forget to share your experience! I would love to hear how your Sweet Shortbread Cookies turned out and any creative variations you tried. You can share your thoughts in the comments below or tag me on social media.
Baking is not just about the end product; it’s about the memories created along the way. So gather your ingredients, roll up your sleeves, and let’s get baking! I promise you won’t regret it. These Sweet Shortbread Cookies are bound to become a favorite in your household, just as they have in mine. Happy baking!
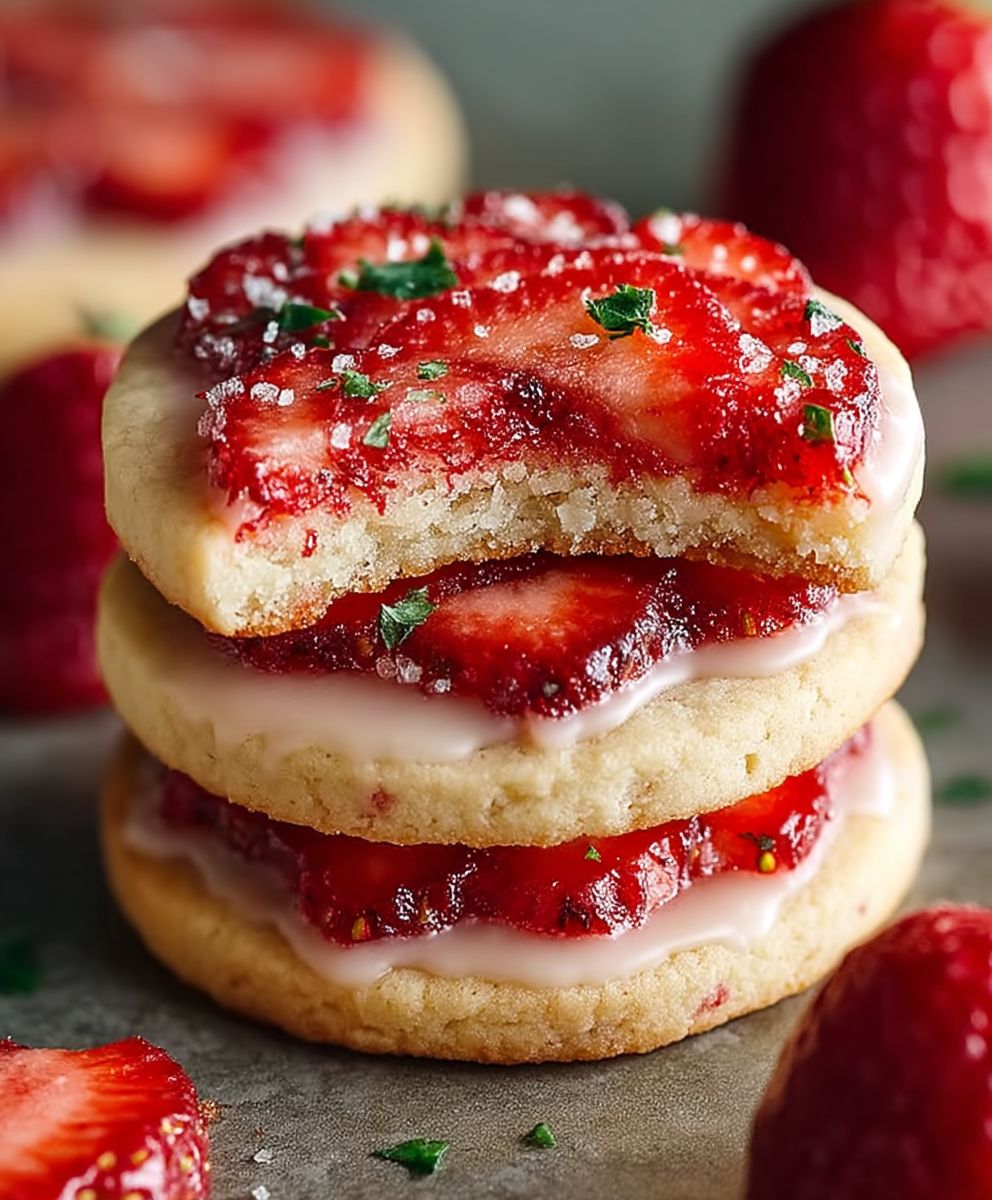
Sweet Shortbread Cookies: The Perfect Recipe for a Delicious Treat
A delicious and easy-to-make dish that combines fresh ingredients and bold flavors, perfect for any occasion. Enjoy a satisfying meal that is both nutritious and delightful!
Ingredients
Instructions
- In einer großen Schüssel Mehl, Salz und Hefe vermengen.
- Wasser hinzufügen und zu einem Teig verrühren.
- Knoblauch und Olivenöl unterrühren.
- Teig 12 Stunden gehen lassen.
Notes
- Der Teig darf während der Ruhezeit nicht bewegt werden.
- Für ein intensiveres Knoblaucharoma können mehr Zehen verwendet werden.


Leave a Comment